Cherry Pie Filling

Cherry pie filling is a delightful mixture that captures the essence of summer with its vibrant color and sweet-tart flavor. It’s a staple for any true dessert lover, making it perfect for everything from classic pies to topping your favorite desserts. The combination of fresh or frozen cherries with just the right amount of sugar creates a luscious filling that’s both simple and satisfying.
Table of Contents
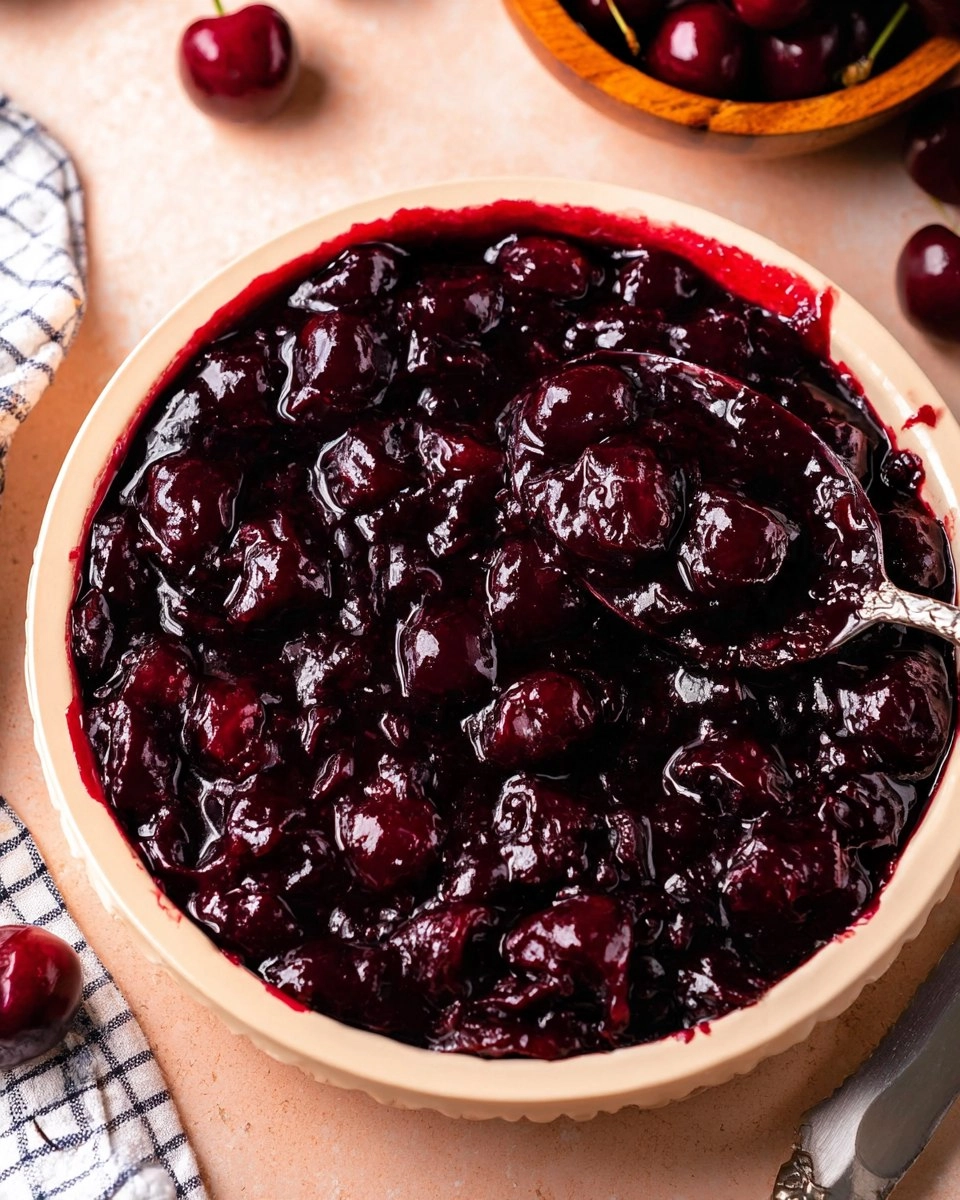
I remember the first time I made cherry pie filling; it was during a lazy summer afternoon, the air filled with the scent of ripening fruit. I plucked cherries from a nearby tree and was instantly transported back to my grandmother’s kitchen. The joy of transforming those plump cherries into a delightful dessert made me fall in love with home cooking. This recipe is all you need for an inviting cherry filling that’s bound to impress friends and family, whether for a special occasion or just a sweet treat to enjoy.
Why You’ll Love This Recipe
- Simple & Quick: With just a handful of ingredients and under 15 minutes of cooking time, this recipe is incredibly straightforward.
- Irresistible Flavor: The balance of sweet and tart cherries, enhanced with a hint of almond, creates a flavor profile that bursts with freshness.
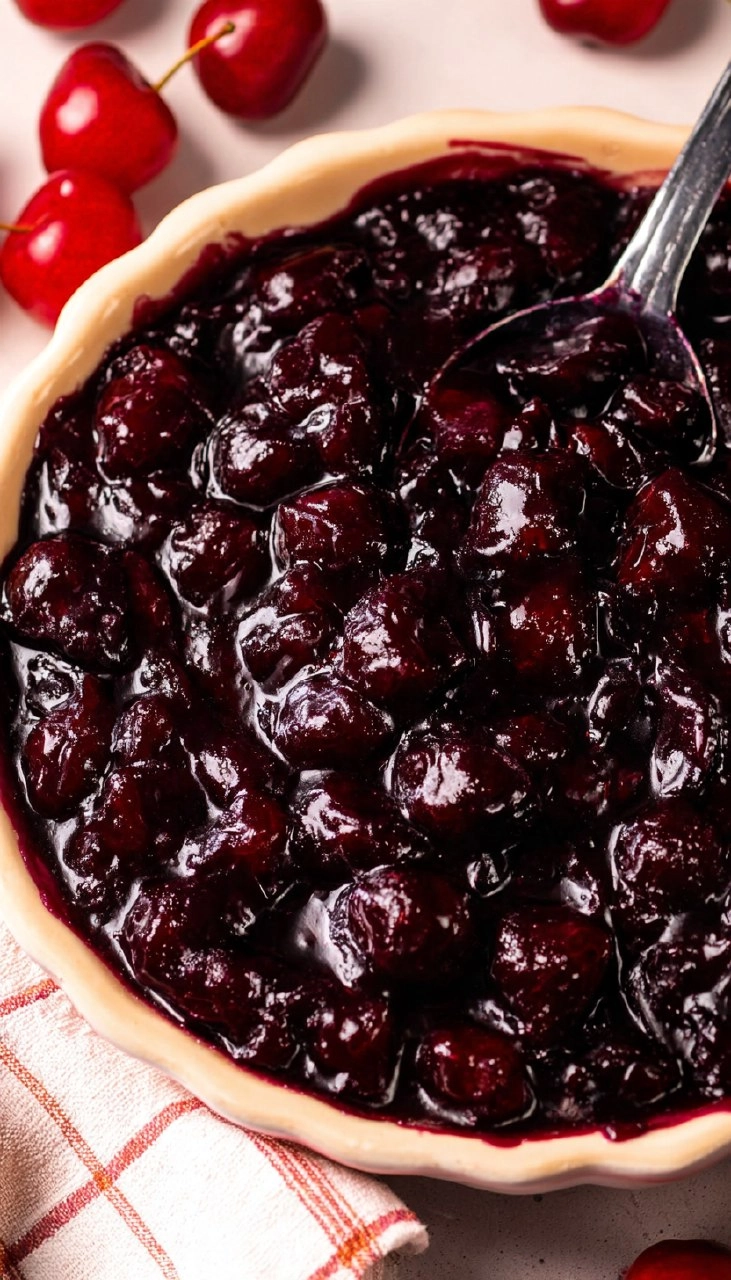
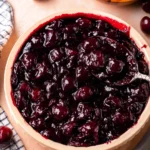
- Eye-Catching Appeal: The deep red color and glossy texture make this cherry pie filling simply irresistible and perfect for presentation.
- Flexible Serving: Use it not only for pies but also to elevate yogurts, pancakes, or ice cream—an all-around treat!
- Diet-Friendly Options: You can easily make this filling gluten-free and dairy-free, fitting various dietary needs.
Ingredients You’ll Need
- 1 lb Cherries, fresh or frozen: Fresh cherries provide a vibrant flavor, but frozen work just as well and are often more convenient.
- 1/2 cup White granulated sugar: This sweetener balances the tartness of the cherries. You can substitute with brown sugar for a deeper flavor.
- 1 TBSP Cornstarch: Acts as a thickening agent, giving the filling the perfect consistency. You can replace this with tapioca starch if preferred.
- 1 TBSP Water: Helps dissolve the cornstarch and enhances the mixing of the ingredients.
- 1/4 tsp Almond extract: Adds a lovely, subtle nutty note that complements the cherries beautifully. Feel free to use vanilla extract if you’re not a fan.
How to Make Cherry Pie Filling
Prepare the Cherries: If you’re working with fresh cherries, start by pitting them. In a medium saucepan, combine the cherries, 1/2 cup sugar, 1 TBSP cornstarch, 1 TBSP water, and 1/4 tsp almond extract. Stir everything together gently until well combined.
Cook the Mixture: Place the saucepan over medium heat. As the mixture heats up, the cherries will begin to release their juice. Keep stirring gently until the cherries soften and begin to break down a bit.
Mash to Desired Consistency: Use a potato masher to mash the cherries to your desired consistency, whether that’s just slightly chunky or a smoother compote.
Thicken the Filling: Continue to cook the mixture, stirring occasionally, until the filling thickens significantly. This usually takes about 5-7 minutes, and you’ll know it’s done when you see bubbles forming around the edges.
Cool Completely: Once thick, remove the saucepan from the heat and pour the filling into a bowl. Allow it to cool to room temperature or speed up the process by placing it in the fridge.
Storing & Reheating
For best results, you can store any leftover cherry pie filling at room temperature for a couple of hours; however, refrigerate it in an airtight container for up to a week. If you wish to store it longer, it freezes beautifully for up to 3 months. To reheat, simply thaw in the fridge overnight and then warm gently on the stove over low heat for about 5 minutes, stirring occasionally. Note that the texture may change slightly during freezing, but a nice stir right before serving will help rejuvenate it.
Chef’s Helpful Tips
- Common Mistakes: Avoid overcooking the filling; this can result in a jam-like texture that isn’t ideal for pie.
- Ingredient Temperature: Use fresh cherries when in season for the best flavor. If using frozen, ensure they are thawed before starting your mix.
- Timing Strategies: Prepare this filling ahead of time and it will save you time when making your final dessert.
- Texture Troubleshooting: If the filling is too thin, consider cooking it a little longer to thicken further.
- Flavor Enhancement Suggestions: For a fun twist, mix in a small amount of lemon juice or zest to brighten the flavor.
- Make-Ahead Options: The filling can be made up to a few days in advance, allowing the flavors to blend beautifully.
Making cherry pie filling from scratch is not just simple; it’s a rewarding endeavor that promises delicious results every time. The satisfaction of knowing what goes into your treats can elevate any gathering—be it a holiday celebration or a cozy weeknight dinner.
There’s something special about creating your cherry filling, and I encourage you to give it a try. Explore your creativity, whether it’s nestled in a flaky pie crust or spooned over a scoop of vanilla ice cream. Get your apron on, and let the sweet aromas fill your kitchen—there’s nothing quite like it!
Recipe FAQs
Can I use frozen cherries for this recipe?
Absolutely! Frozen cherries work wonderfully in this cherry pie filling. Just make sure to thaw them before starting. They may release a bit more juice than fresh cherries, so you might need to adjust the cornstarch slightly for thickness.
How long can I store the cherry pie filling?
Cherry pie filling can be stored in the fridge for up to a week. If you want to keep it longer, it freezes perfectly for up to three months. Just make sure it’s in an airtight container and thaw it in the fridge before using.
Can I make this filling vegan?
Yes, the recipe is naturally vegan since it contains no dairy or animal products. Just ensure that any pie crust you use is vegan as well.
How can I adjust the sweetness?
If you prefer a less sweet filling, reduce the sugar to 1/3 cup or even less. You can always taste test the mixture as it cooks and adjust accordingly!
More Desserts & Appetizers Recipes
- Marinated Tomatoes
- Homemade Cherry Crisp
- Easy Homemade Cherry Pie
- Cherry Hand Pies
- Easy Jam Thumbprint Cookies with a Heart-Shaped Twist
Did You Enjoy Making This Recipe? Please rate this recipe with ⭐⭐⭐⭐⭐ or leave a comment.
📖 Recipe Card
Cherry Pie Filling
- Prep Time: 5 minutes
- Cook Time: 15 minutes
- Total Time: 20 minutes
- Yield: 1 1/2 cups 1x
- Category: Desserts & Appetizers
- Method: Stovetop
- Cuisine: American
Description
This Cherry Pie Filling boasts an irresistible flavor and simple preparation with fresh cherries, sugar, and almond extract. Ideal for creating delightful desserts, it’s the homemade touch every pie needs!
Ingredients
- 1 lb Cherries, fresh or frozen
- 1/2 cup White granulated sugar
- 1 TBSP Cornstarch
- 1 TBSP Water
- 1/4 tsp Almond extract
Instructions
- Ensure fresh cherries are pitted if using them. In a medium saucepan, combine cherries, sugar, cornstarch, water, and almond extract.
- Heat over medium until the cherry juice separates and the cherries soften. Mash the cherries to your desired consistency.
- Continue heating until the mixture thickens to about 1 1/2 cups. Transfer to a bowl and let cool completely, refrigerating speeds up the process.
Notes
For a thicker filling, increase the cornstarch slightly.
This filling can also be used as a topping for ice cream or pancakes.
Store any leftover filling in the refrigerator for up to a week.
Nutrition
- Serving Size: 1/4 cup
- Calories: 110
- Sugar: 23g
- Sodium: 1mg
- Fat: 0g
- Saturated Fat: 0g
- Unsaturated Fat: 0g
- Trans Fat: 0g
- Carbohydrates: 26g
- Fiber: 1g
- Protein: 1g
- Cholesterol: 0mg