How To Lattice Pie Crust

Writing a lattice pie crust is like putting a beautiful quilt on top of a warm pie filling. It’s a technique that transforms a simple dessert into something visually stunning. The delicate interweaving of dough strips lets steam escape while also creating an eye-catching design. It’s not just about aesthetics; that lattice design allows the filling to bubble and caramelize beautifully, enhancing the flavors. The first time I tried to make one, I felt a little intimidated, thinking it would be too complicated. But trust me, once you get the hang of it, you’ll appreciate how surprisingly easy it is to create this charming crust.
Table of Contents
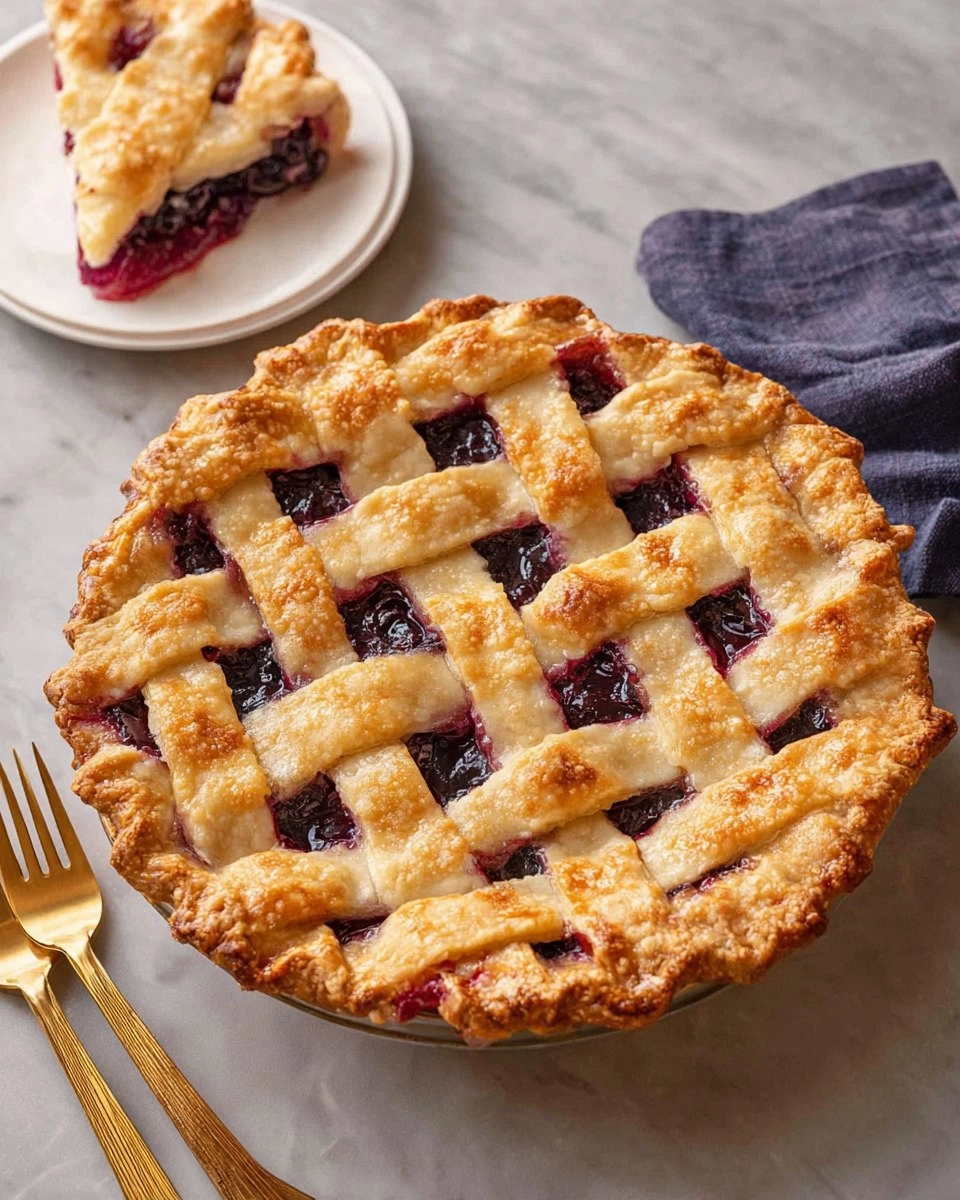
Whether you’re preparing for a family gathering or simply want to elevate a weeknight dessert, knowing how to lattice pie crust will impress everyone. Plus, it’s an excellent way to utilize seasonal fruits or any filling you love at home. So, roll up your sleeves and get ready to wow your friends and family with something that looks fancy but is quite straightforward to master. I’m excited to guide you through this fun culinary adventure!
Why You’ll Love This Recipe
- Simple & Quick: This lattice pie crust only takes about 30 minutes to prepare, making it perfect for last-minute plans.
- Irresistible Flavor: The flaky crust marries beautifully with any pie filling, from apples to berries.
- Eye-Catching Appeal: The crisscross pattern is not only rustic but also brings a delightful charm to your dessert, ideal for any occasion.
- Flexible Serving: Perfect for gatherings, holidays, or even as a cozy treat on a quiet evening at home.
- Diet-Friendly Options: Easily adaptable based on dietary needs, whether you’re using gluten-free flour or vegan butter.
Ingredients You’ll Need
- Pie dough: Basic pie crust works best; consider homemade for full flavor. You can also use store-bought if you’re short on time.
- Pie filling: Use your favorite pie filling—think sweet apples, tart cherries, or rich blueberry. Always ensure your filling is thick enough to bake well under the lattice.
- Egg wash (optional): One egg whisked with one tablespoon of water or milk gives the crust a beautiful, golden finish. You can skip this for a vegan option or use a non-dairy milk for a substitute.
How to Make How To Lattice Pie Crust
- Roll Out the Dough: Begin by rolling out one disc of pie dough into a circle or square larger than your pie pan, about ⅛-inch thick. The dough should be smooth and even to ensure even baking.
- Score the Dough: Using a ruler or tape measure, lightly score lines across the dough about 1 inch apart from edge to edge. This will guide you in cutting uniform strips.
- Cut the Strips: With a bench scraper or knife, carefully cut along the scored lines to create long strips. Reserve the longest strips for the center of your lattice.
- Assemble the First Layer: Place 5-6 strips parallel to each other on top of your pie filling, spaced evenly and ensuring the filling peeks through the strips.
- Fold the Strips: Starting with the second strip from one edge, gently fold every other strip back toward the center of the pie, leaving them folded in half. This creates spaces for your next set of strips.
- Add the Perpendicular Strip: Take one of your remaining strips and lay it across the first set of parallel strips, close to the base of the folds.
- Return the Strips: Carefully fold the strips back over so they lie on top of the newly laid perpendicular strip.
- Repeat the Process: Fold the other set of alternating strips back, lay another cross-strip spaced about ¾ inch to 1 inch away, and then unveil the previously folded strips.
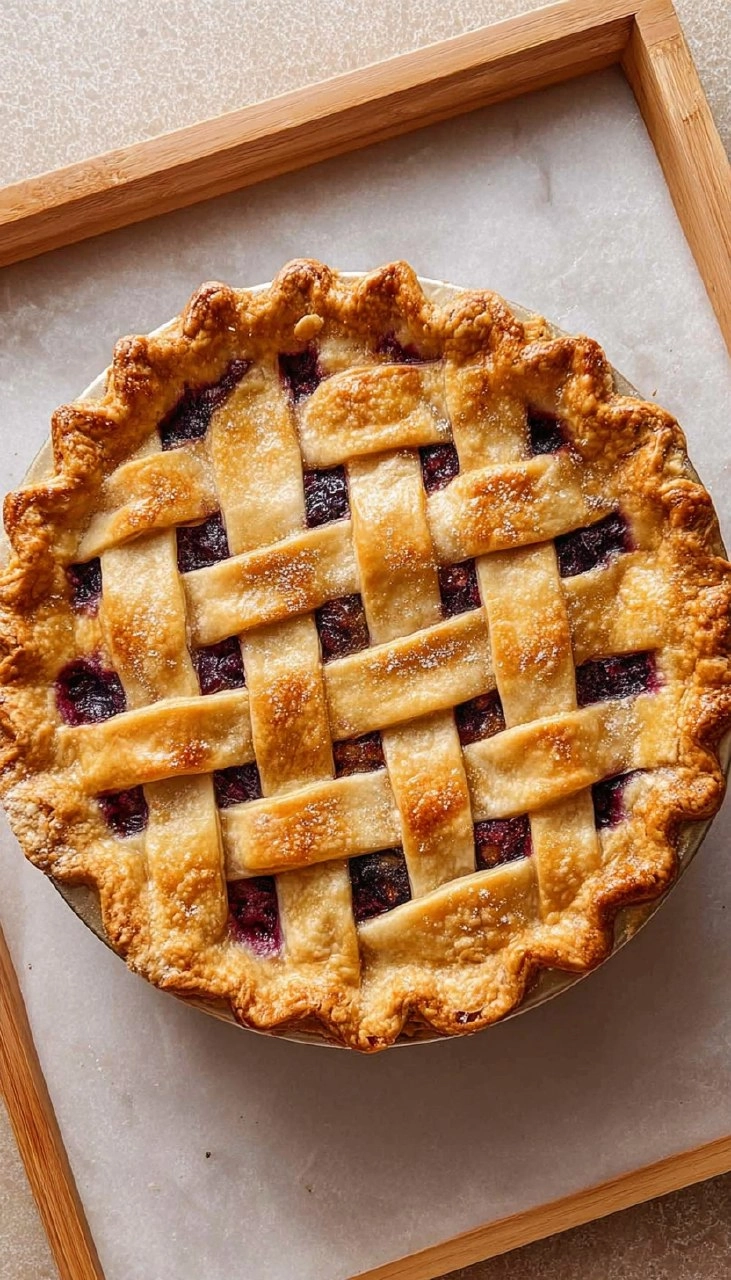
- Continue Lattice Formation: Keep alternating the folding and laying of the strips, working towards the edges until the entire pie is covered in a beautiful lattice design.
- Trim the Edges: Use kitchen shears to trim excess crust from the bottom and lattice strips, leaving about 1 inch beyond the edge of the pie pan.
- Seal the Crust: Fold the excess dough up and over itself around the edges, pressing gently at the ends to seal the lattice strips securely to the bottom crust.
- Decorate the Edge: Press your favorite decorative pattern into the edge of the crust, which not only looks great but also helps seal it further.
- Freeze and Bake: Freeze the assembled pie for 15 to 20 minutes to firm it up. Brush with the egg wash if you wish for added shine, then bake according to your pie filling instructions.
Storing & Reheating
Once your lattice pie is baked and cooled, it can be stored at room temperature for up to 2 days, covered loosely with foil or wax paper. If you have leftovers, transfer them to an airtight container in the refrigerator, where they’ll stay fresh for 3-4 days. You can also freeze the unbaked pie for up to 3 months; just wrap it tightly in plastic wrap and then foil to avoid freezer burn. To reheat, pop it in a 350°F oven for about 15-20 minutes until warmed through. Note that the crust may soften slightly after freezing, but to refresh it, try to re-crisp it in the oven for the best texture.
Chef’s Helpful Tips
- Avoid Wet Filling: Make sure your pie filling isn’t too runny; this helps prevent a soggy bottom. If using fresh fruit, think about letting the filling sit with sugar for a little while to draw out moisture.
- Keep Dough Cold: When making your pie crust, ensure your ingredients, especially the butter, are chilled. This helps create that crispy, flaky texture we all love.
- Don’t Overwork the Dough: Once you mix your pie dough, handle it just enough to bring it together. Overworking can lead to a tough crust—nobody wants that!
- Freeze Lattice Before Baking: A well-chilled lattice helps in maintaining its shape and promotes even baking, so don’t skip that freezing step.
- Experiment with Flavors: Feel free to add spices or citrus zest to your filling for enhanced flavor—this can make all the difference!
Whether you’re baking for a special occasion or simply to satisfy a sweet craving, mastering how to lattice pie crust is sure to elevate your dessert game. Take the plunge and impress your guests with a stunning pie that’s just as delicious as it looks. Your kitchen will become a hub of warmth and creativity, inviting everyone to gather around and enjoy. Happy baking!
Recipe FAQs
What type of pie filling is best for a lattice crust?
You can use almost any filling under a lattice crust! Popular choices include fruit fillings like apple, cherry, and berry. Just make sure that they are thick enough to hold their shape and don’t create too much moisture while baking.
Can I use store-bought pie dough for the lattice crust?
Absolutely! Store-bought pie dough can save you time and effort, making it an excellent alternative for busy bakers. Just make sure to follow any thawing instructions to ensure it handles well.
How can I prevent my crust from getting soggy?
A few strategies include using a thick filling, pre-baking the bottom crust slightly before adding your filling, or using a mix of cornstarch or tapioca to help absorb moisture.
What can I substitute if I don’t have an egg for the egg wash?
If you’re looking for an egg wash alternative, you can brush the crust with milk, cream, or a dairy-free alternative, which will still give you a nice golden color.
PrintMore Desserts & Appetizers Recipes
Did You Enjoy Making This Recipe? Please rate this recipe with ⭐⭐⭐⭐⭐ or leave a comment.
📖 Recipe Card

How To Lattice Pie Crust
- Prep Time: 15 minutes
- Cook Time: No data
- Total Time: 0 hours
- Yield: 1 pie 1x
- Category: Desserts & Appetizers
- Method: Baking
- Cuisine: American
Description
This lattice pie crust is a delightful way to elevate any pie. Made with simple ingredients, it offers a beautifully woven top that showcases your favorite fillings, making it an essential for pie lovers.
Ingredients
- 2 discs pie dough
- 2 cups pie filling
- 1 egg whisked with 1 tablespoon water for egg wash (optional)
Instructions
- Roll out one disc of pie dough into a circle or square larger than your pie pan, about ⅛-inch thick.
- Place a ruler or tape measure across the dough, and use a bench scraper or knife to score lines 1 inch apart from edge-to-edge.
- Cut along the scored lines to produce long parallel strips, saving the longest strips for the center.
- Place 5-6 strips on top of the pie filling, parallel to each other and evenly spaced apart.
- Starting with the second strip from one edge, fold every other strip back toward the center of the pie, leaving them folded in half.
- Take a strip from your remaining pile and lay it perpendicular to the parallel strips, close to the base of the folds.
- Return the folded strips to their original position so they lie on top of the perpendicular strip.
- Fold back the other set of alternating strips, lay another perpendicular strip spaced about ¾ inch to 1 inch away, and unfold the strips back over.
- Continue alternating: fold one set back, lay a cross-strip, unfold, fold the other set back, lay another cross-strip, unfold, working outward toward both edges.
- Use kitchen shears to trim the excess bottom crust and lattice strips to about 1 inch beyond the edge of the pie pan.
- Fold the excess up and over itself, pressing gently to seal the lattice strip ends to the bottom crust.
- Press your preferred decorative pattern into the edge of the crust to seal it.
- Freeze the assembled pie for 15 to 20 minutes, brush with egg wash if desired, and bake.
Notes
Make sure to keep the dough chilled for easier handling.
Use seasonal fillings for a fresh and delicious taste.
Experiment with different egg washes for a golden crust.
Nutrition
- Serving Size: 1 slice
- Calories: 250
- Sugar: 5g
- Sodium: 180mg
- Fat: 10g
- Saturated Fat: 3g
- Unsaturated Fat: 0g
- Trans Fat: 0g
- Carbohydrates: 35g
- Fiber: 2g
- Protein: 3g
- Cholesterol: 25mg