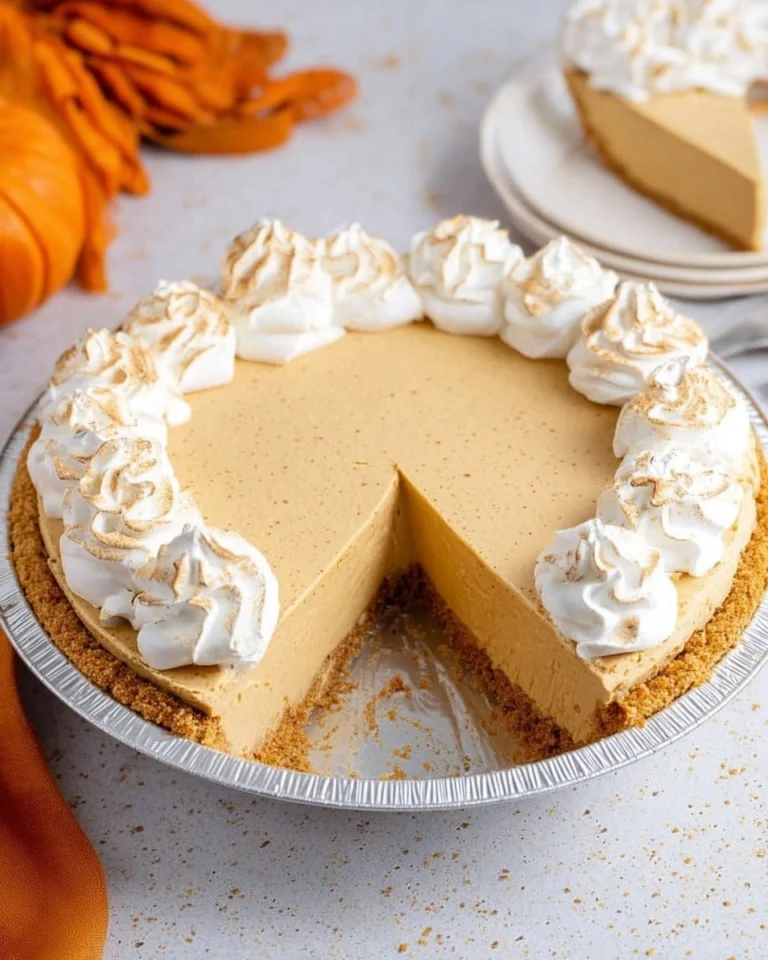
How To Make A Pie Crust Shield

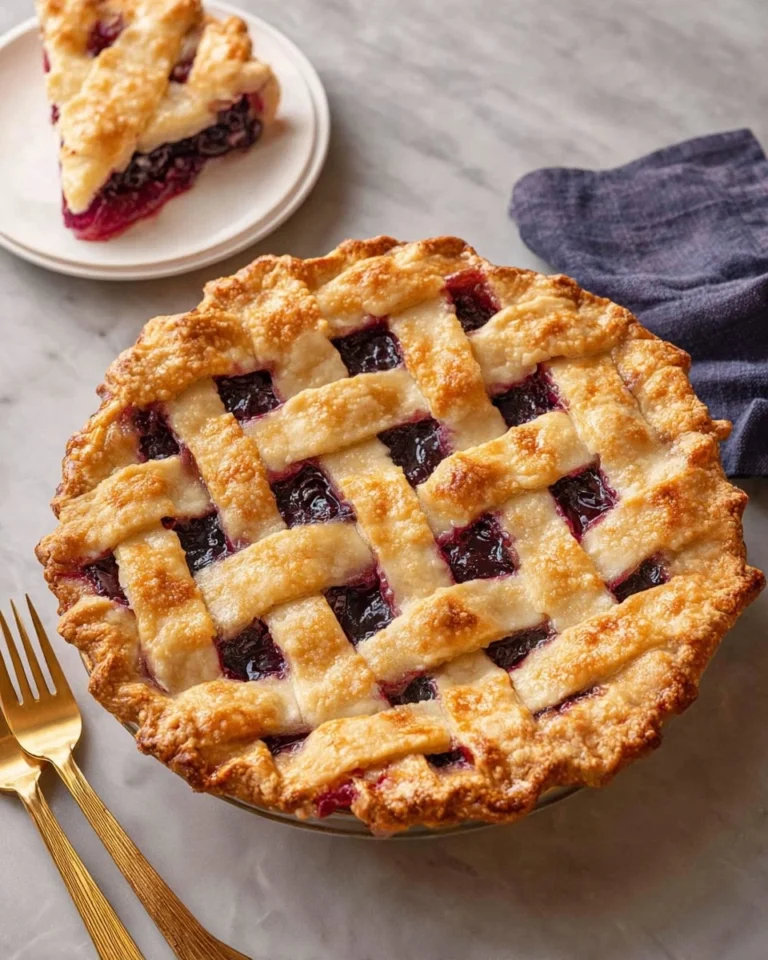
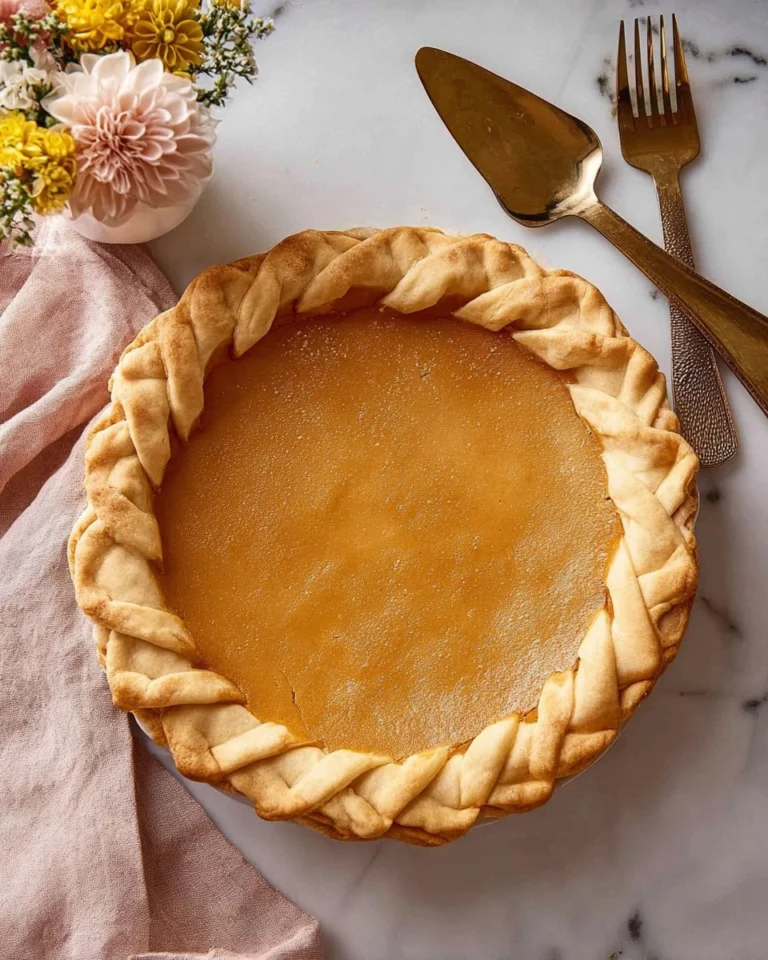
Making a pie crust shield can be one of those simple yet game-changing techniques that elevates your homemade pies to another level. You know the kind – golden, flaky crusts on the outside and beautifully cooked fillings inside. No one wants a crust that’s burnt or overly dark, but getting that perfect balance can sometimes feel like a daunting task, especially for beginners. I can still remember the first time I made a pie and most of the crust was overcooked. It was heartbreaking, and I vowed never to let it happen again. That’s when I learned how to make a pie crust shield.
Table of Contents
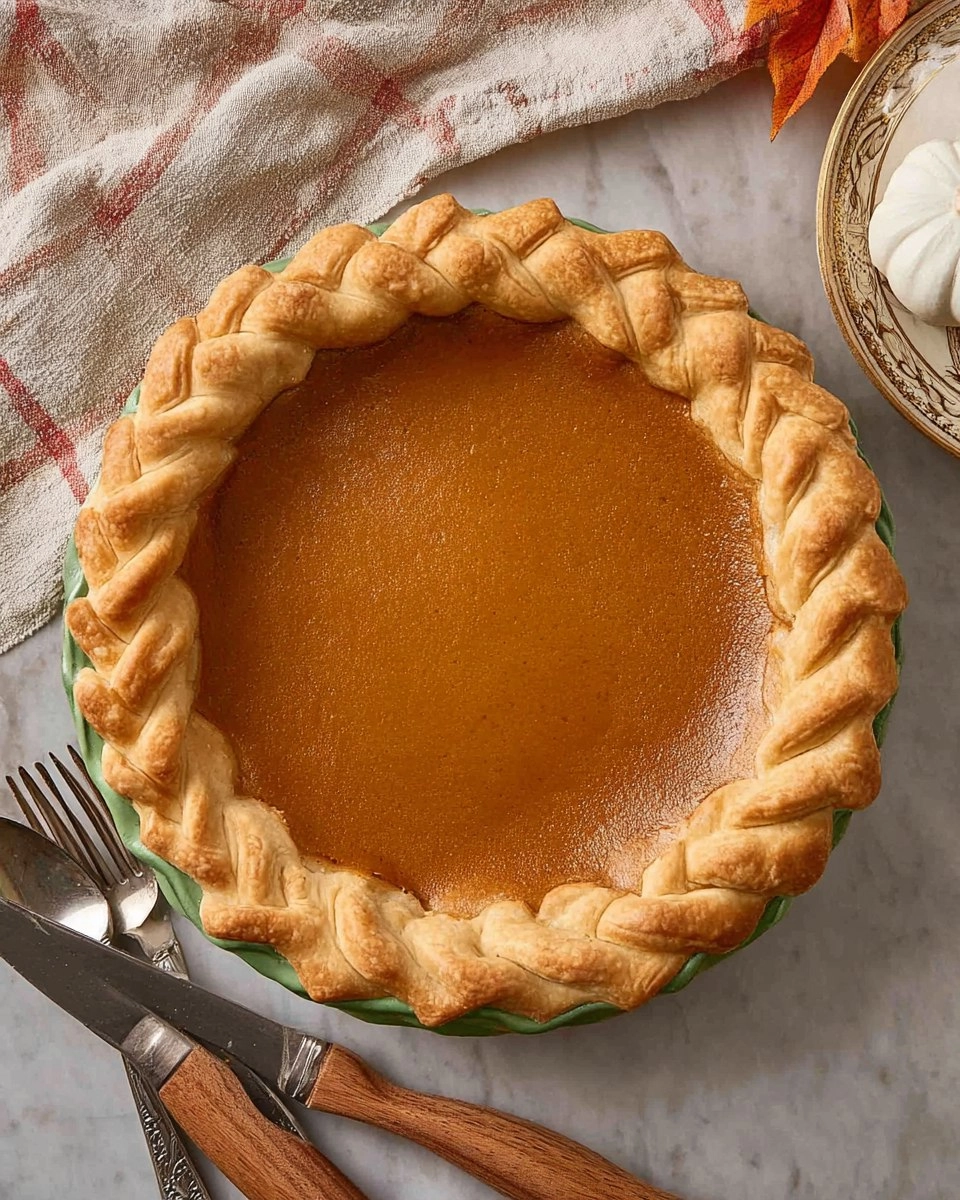
A pie crust shield is essentially a protective barrier made from aluminum foil that covers the edges of the crust while allowing the filling to bake evenly. Not only does it prevent those edges from getting too brown, but it also gives you the confidence to tackle any pie recipe without fear of ruining the crust. It’s easy, budget-friendly, and a must-have in your baking arsenal. Let’s jump into how to make a pie crust shield, so your next pie can be the showstopper it deserves to be!
Why You’ll Love This Recipe
- Simple & Quick: This technique takes just a few minutes to prepare, so you don’t have to spend hours in the kitchen.
- Irresistible Flavor: Protecting the crust ensures that every bite is just as delightful as the filling it’s enclosing.
- Eye-Catching Appeal: A perfectly cooked pie with a beautifully shielded crust is always impressive to guests.
- Flexible Serving: Whether it’s a holiday dessert or a casual family dinner, this pie crust shield works wonders any time.
- Budget-Friendly: All you need is some aluminum foil, making this an economical solution for all bakers.
Ingredients You’ll Need
- Aluminum foil: This is the star of the show! Use standard aluminum foil to create your shield. It’s easy to manipulate, affordable, and prevents the crust from browning too quickly. If you don’t have aluminum foil, you might experiment with parchment paper, but it may not be as effective.
How to Make How To Make A Pie Crust Shield
- Cut Your Strips: Start by cutting two to three long strips of aluminum foil, about 12 inches each. Once cut, fold each strip in half lengthwise. Each strip should be sturdy enough to hold its shape while protecting the crust.
- Apply the Foil Strips: Now take one strip of foil and press it against the side of your pie plate, covering a portion of the edge of the crust. This will protect those delicate edges.
- Continue Applying Strips: Repeat this process with additional strips until the entire edge of the pie crust is shielded with foil strips. Leave the center of the pie mostly uncovered to allow even baking of the filling.
- Create the Full Shield: Next, cut a piece of foil large enough to cover the entire pie with some overhang – about 12 inches square is ideal. Fold it in half, then in half again to create a square shape.
- Shape the Shield: Fold the foil square diagonally, forming a triangle. Measure about 4 inches up from the folded point and make a curved cut from edge to edge. This removes the tip, creating a circle cut-out in the center.
- Place the Shield on Your Pie: Unfold your pie crust shield and you’ll see a large circle cut-out — about 8 inches in diameter. Place this shield gently over your pie, ensuring the center is exposed while folding the excess down to cover the edges of the crust.
Storing & Reheating
Once you’ve made your pie, the shield has served its purpose! If you have leftovers, keep your pie covered at room temperature if you plan to eat it within a day. For longer storage, refrigerate it in an airtight container for up to three days. Make sure your pie is cool before wrapping it up. If you want to freeze it, wrap it well with aluminum foil and place it in a freezer-safe bag — it should hold up for up to three months. When you’re ready to enjoy it again, just reheat in the oven at 350°F for about 15 minutes, giving it new life, though the crust may soften slightly with refrigeration.
Chef’s Helpful Tips
- Avoid Overlapping: Make sure your foil strips are snug against the pie’s edge but not overlapping too much, as they could cause uneven baking.
- Use Heavy-Duty Foil: If you have it on hand, heavy-duty aluminum foil can hold its shape better and is less likely to crumple.
- Adjust Shielding: Depending on the pie recipe, you might not need to shield the edges at all times. If the recipe calls for a longer baking time, consider keeping your shield on for the first half of baking and then removing it.
- Experiment with Cuts: The diameter of the cut-out can vary based on the pie’s size and how much crust you want to expose. Feel free to adjust according to your preference!
Perfectly baked pies are within reach thanks to this quick method for a homemade pie crust shield. You can now bake with confidence, knowing that your crust won’t be burnt to a crisp. Enjoy experimenting with different pie fillings and flavors! Each new pie brings the opportunity to refine your technique while ensuring the crust remains a highlight rather than an afterthought.
Recipe FAQs
How does a pie crust shield work?
A pie crust shield serves to protect the edges of the pie crust from burning while allowing the filling to bake properly. By covering the crust, it retains moisture and even coloration, resulting in a beautifully baked pie.
Can I make a pie crust shield in advance?
Definitely! You can prepare your aluminum foil strips and even cut out the shield ahead of time. Just ensure they’re stored flat and away from any moisture until you’re ready to bake your pie.
What if I don’t have aluminum foil?
While aluminum foil is the best option for creating a pie crust shield, if it’s unavailable, you may try using parchment paper. However, keep in mind that it might not provide the same level of protection against browning, so monitor your pie closely while it bakes.
Can I reuse the aluminum foil?
You can certainly reuse aluminum foil if it’s still in good condition. Just make sure to clean it carefully and avoid using it if it’s torn or heavily crumpled.
Try this pie crust shield method the next time you bake a pie, and enjoy the satisfaction of a beautifully cooked crust that complements whatever delicious filling you choose. Happy baking!
More Desserts & Appetizers Recipes
Did You Enjoy Making This Recipe? Please rate this recipe with ⭐⭐⭐⭐⭐ or leave a comment.
📖 Recipe Card

How To Make A Pie Crust Shield
- Prep Time: 5 minutes
- Cook Time: 0 minutes
- Total Time: 5 minutes
- Yield: 1 pie shield 1x
- Category: Desserts & Appetizers
- Method: Baking
- Cuisine: American
Description
Creating a pie crust shield is an essential step for achieving perfectly baked pies. Using aluminum foil, this straightforward technique protects your crust from burning while allowing your filling to cook to perfection. It’s quick to prepare and ensures an irresistible result every time!
Ingredients
- 2 to 3 strips aluminum foil, 12 inches each
Instructions
- Cut two to three long strips of foil, each about 12 inches long.
- Fold the strips in half lengthwise.
- Press one strip of foil against the side of the pie plate, covering a portion of the edge of the crust.
- Repeat with another strip of foil.
- If needed, add one more strip to cover the entire edge of the pie crust, leaving the center mostly uncovered.
Notes
Make sure to fold the foil neatly to ensure proper coverage of the pie crust.
You can create the foil strips in advance and store them for quick use when baking.
Watch your pie closely to ensure the filling cooks thoroughly while the crust remains protected.
Nutrition
- Serving Size: 1 pie shield
- Calories: 0
- Sugar: 0g
- Sodium: 0mg
- Fat: 0g
- Saturated Fat: 0g
- Unsaturated Fat: 0g
- Trans Fat: 0g
- Carbohydrates: 0g
- Fiber: 0g
- Protein: 0g
- Cholesterol: 0mg