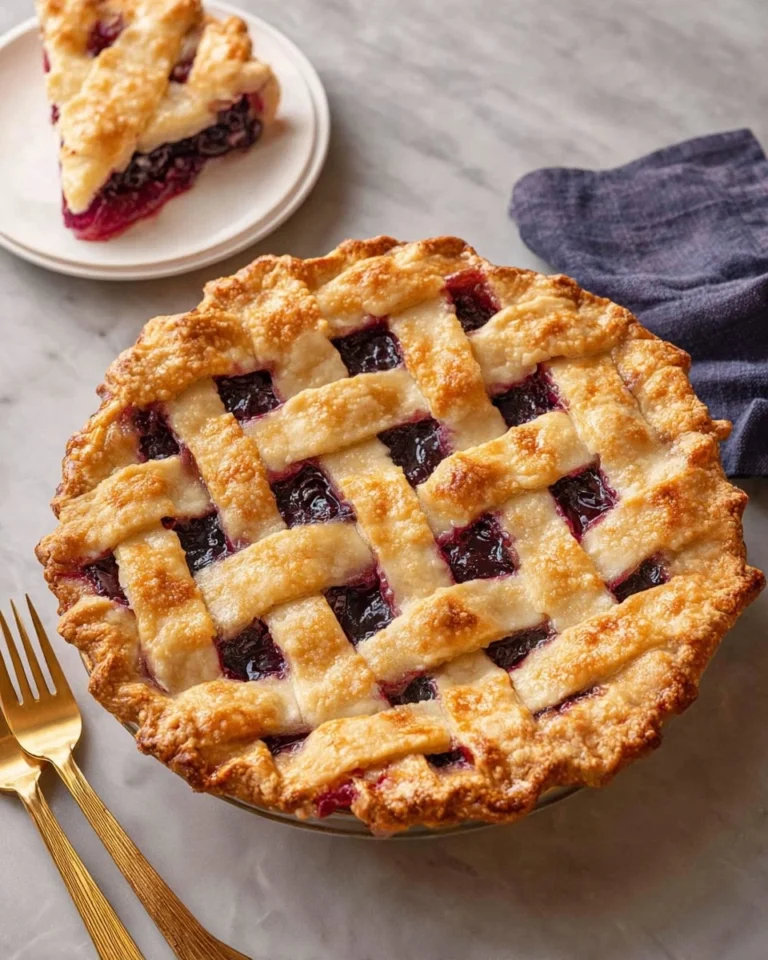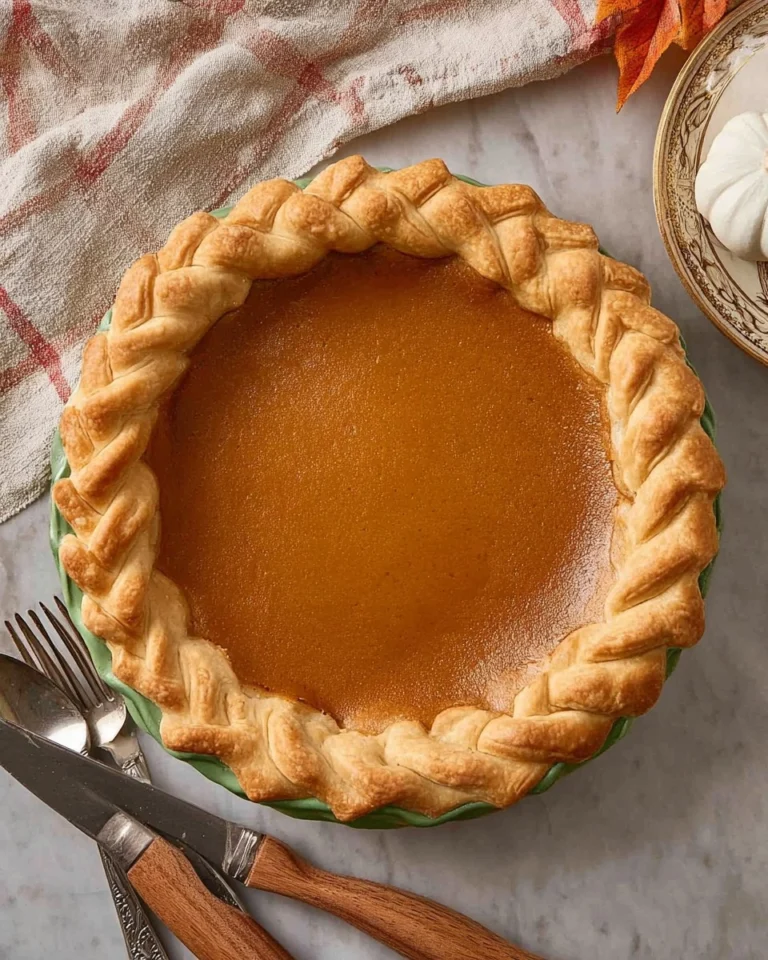
How To Crimp Pie Crust

How To Crimp Pie Dough
Table of Contents
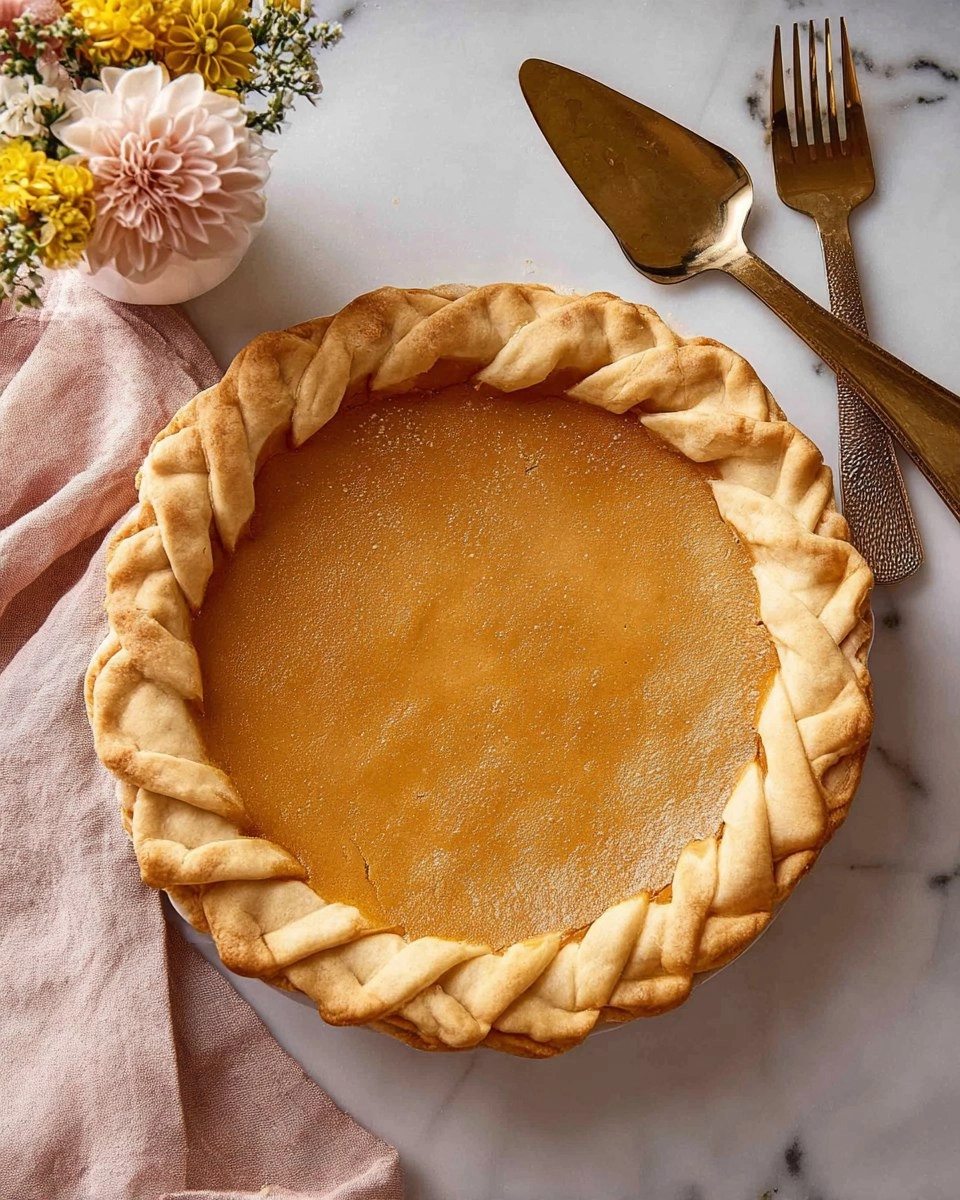
The delicate art of pie crust crimping can make all the difference between a humble home-baked pie and a show-stopping masterpiece. A well-crimped pie crust not only adds visual charm but also helps seal in delicious fillings, ensuring every slice is loaded with flavor. As you learn how to crimp pie crust, you’ll feel the satisfaction of creating a perfect finish, setting your pies apart from the rest. Whether it’s a comforting apple pie in the fall or a creamy custard for the holidays, you’ll always want your pie crust to look as delightful as it tastes.
I still remember the first time I attempted to crimp a pie crust. With flour dusting my kitchen counter and a sense of trepidation, I worried I’d mess it up. But as I pressed my thumb and forefinger together to create those beautiful waves, a sense of accomplishment washed over me. Trust me when I say each crimp tells a story; it’s an art form that invites family and friends to gather around and celebrate what’s inside. Let’s get those fingers ready to create magic!
Why You’ll Love This Recipe
- Simple & Quick: With just a few steps, you can have a beautifully crimped pie crust ready in no time.
- Irresistible Flavor: A crimped pie not only looks fantastic but also retains moisture and flavor in your delicious fillings.
- Eye-Catching Appeal: Those lovely crimped edges make a homemade pie look professionally crafted.
- Flexible Serving: Great for any occasion, whether it’s a cozy night in or a festive gathering.
- Diet-Friendly Options: It’s easy to adapt to gluten-free or vegan crusts according to your dietary needs.
Ingredients You’ll Need
- Pie dough: Rolled into a 12- to 14-inch circle, about ⅛-inch thick. Store-bought dough works fine, but homemade brings more flavor.
- Flour: Use for dusting your counter, fingers, and tools, ensuring the dough doesn’t stick.
- Water or egg wash: This is optional for adhering any decorative cuts to your crust.
- Egg wash ingredients: Use either beaten egg, egg + water, or egg + cream for a golden finish that looks stunning post-bake.
How to Make How To Crimp Pie Crust
- Roll the Dough: On a lightly floured surface, roll your pie dough into a 12- to 14-inch circle, about ⅛-inch thick. Rotate it frequently to prevent sticking—this lightweight dough will make all the difference in your crimping.
- Press Into Pan: Gently press the dough into a 9-inch pie pan, making sure there are no gaps between the dough and the sides of the pan. Allow the excess dough to hang over the edge for the moment.
- Trim the Overhang: Use kitchen scissors or a sharp knife to trim the overhanging dough to about 1 inch beyond the edge of the pan.
- Tuck It In: Fold the 1-inch overhang under itself, forming a double-thickness rim that rests nicely on the edge of the pan. This extra thickness adds stability to your final crimp.
- Choose Your Technique: Crimping can be done in various ways! Opt for either the Classic Fluted, Fork, Rope, Spoon, or Decorative Cuts. Press the dough together gently with your fingers, or use the tines of a fork for easy flair.
- Chill Before Baking: To help your crimp hold its shape during baking, chill your crimped pie in the freezer for about 15-20 minutes or in the fridge for 30 minutes before popping it in the oven. This step is essential for achieving that perfectly flaky crust!
Storing & Reheating
If you have leftover pie crust, store it wrapped in plastic, and it can sit at room temperature for up to a day. For longer storage, keep it in the fridge for up to one week. If you’ve already filled it and baked your pie, any leftovers should be refrigerated in an airtight container for 3–4 days. For those who want to prepare ahead, freeze your unbaked pie for up to 3 months. To enjoy again, simply reheat in the oven at 350°F (175°C) for about 10-15 minutes, making sure it’s warmed through.
Chef’s Helpful Tips
- Avoid overworking the dough; this can lead to a tough crust instead of flaky perfection.
- Make sure your dough stays chilled. If it becomes too warm, pop it back in the fridge for a few minutes before crimping.
- Don’t fret if it doesn’t look perfect the first time! Practice makes better, and each pie is a canvas to express yourself.
- Experiment with different crimping tools or even your fingers for unique designs
- When determining moisture in your crust, adjust fillings with care to prevent sogginess.
Learning how to crimp pie crust is an essential skill that elevates your baking game. Just think about it—that gorgeous, golden edge framing your hidden filling not only pleases the eye but also adds to the overall flavor experience.
Recipe FAQs
What is the best pie crust for crimping?
The best pie crust for crimping is one that’s well-chilled and slightly firm, allowing for beautiful shapes without falling apart. Whether you opt for store-bought or homemade, make sure it’s rolled to the right thickness (about ⅛ inch) for easy handling.
How do I fix a torn pie crust?
If your crust tears while crimping, don’t panic! Simply pinch the edges back together or use a small piece of dough to patch the tear. If it’s a significant tear, a simple layer of foil over the pie can help keep fillings contained.
Can I freeze a crimped pie crust?
Absolutely! Once crimped, a pie crust can be frozen for up to 3 months. Wrap it tightly in plastic wrap and place it in a freezer-safe bag. When you’re ready to bake, you can fill and bake it straight from the freezer!
How do I know when my pie crust is done baking?
Look for a beautifully golden-brown crust, firm to the touch. You can also check for fragrant aromas escaping the oven and a bubbling filling, which indicates that the crust and filling have set perfectly.
Happy baking!
With some practice, you’ll be a crimping pro in no time. Each pie will not only warm your kitchen but also the hearts of those who taste it. So roll up those sleeves and create something wonderful today!
PrintMore Desserts & Appetizers Recipes
- How to Make Chocolate Meringue Pie
- Blueberry Crumble Pie
- Apple Blueberry Pie with Flaky Lattice Crust
- Homemade Blueberry Pie with Lattice Top
- Blueberry Peach Pie
Did You Enjoy Making This Recipe? Please rate this recipe with ⭐⭐⭐⭐⭐ or leave a comment.
📖 Recipe Card

How To Crimp Pie Crust
- Prep Time: 15 minutes
- Cook Time: No baking time provided
- Total Time: 0 hours
- Yield: 1 pie crust 1x
- Category: Desserts & Appetizers
- Method: Baking
- Cuisine: American
Description
This How To Crimp Pie Crust guide makes it simple to achieve a beautifully crimped edge, ensuring every pie is not just tasty but also a visual delight. With easy prep and key ingredients like pie dough and egg wash, it’s perfect for anyone who loves homemade desserts.
Ingredients
- 1 pie dough (rolled into a 12- to 14-inch circle, about ⅘-inch thick)
- Flour (for dusting counter, fingers, and tools)
- 1 tbsp water or egg wash (for decorative cutout glue, optional)
- 1 beaten egg (for egg wash, optional)
Instructions
- Roll the dough into a 12- to 14-inch circle, about ⅘-inch thick, lightly flouring your counter and rotating frequently to prevent sticking.
- Press the dough into a 9-inch pie pan, leaving the excess hanging over the edge and ensuring no gaps between the crust and the pan.
- Trim the overhang to 1 inch beyond the edge of the pan.
- Tuck the 1-inch overhang under itself into the pie pan to create a double-thickness rim resting on the lip of the pan.
- Select your crimping technique—Classic Fluted, Fork, Rope, Spoon, or Decorative Cuts—and apply it to the edge.
- Chill the prepared pie in the freezer for 15-20 minutes, or in the fridge for 30 minutes, to help the crimp hold its shape.
Notes
For a consistently shaped crust, rotate the dough while rolling to maintain an even thickness.
Consider using an egg wash for a shiny, golden-brown finish on your pie crust.
Experiment with different crimping styles to add a unique touch to your pies.
Nutrition
- Serving Size: 1 slice
- Calories: 150
- Sugar: 0g
- Sodium: 100mg
- Fat: 8g
- Saturated Fat: 3g
- Unsaturated Fat: 5g
- Trans Fat: 0g
- Carbohydrates: 15g
- Fiber: 1g
- Protein: 3g
- Cholesterol: 30mg