Homemade Garlic Rolls

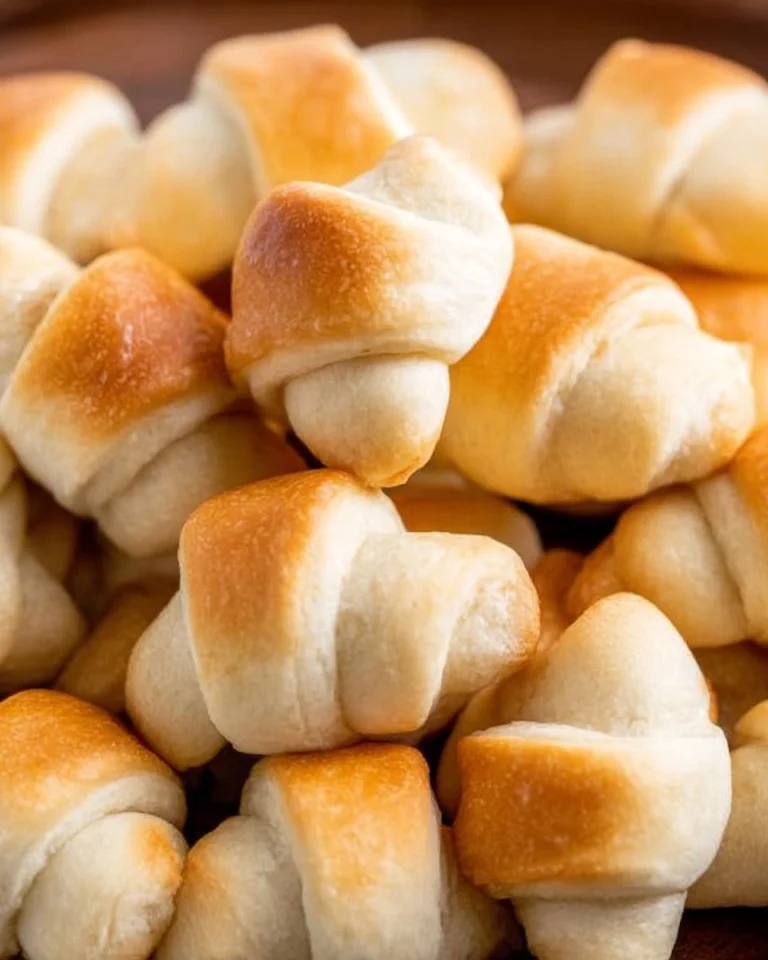
Homemade garlic rolls are not just a side dish; they are a warm embrace on a plate. Picture fluffy, golden-brown rolls infused with rich garlic and buttery goodness, each bite melting in your mouth. These rolls are irresistibly comforting, perfect for family dinners, holiday gatherings, or simply to soothe a craving for something delightful. Whether enjoyed with a robust pasta dish or served alongside a hearty soup, homemade garlic rolls elevate any meal with their delectable flavors.
Table of Contents
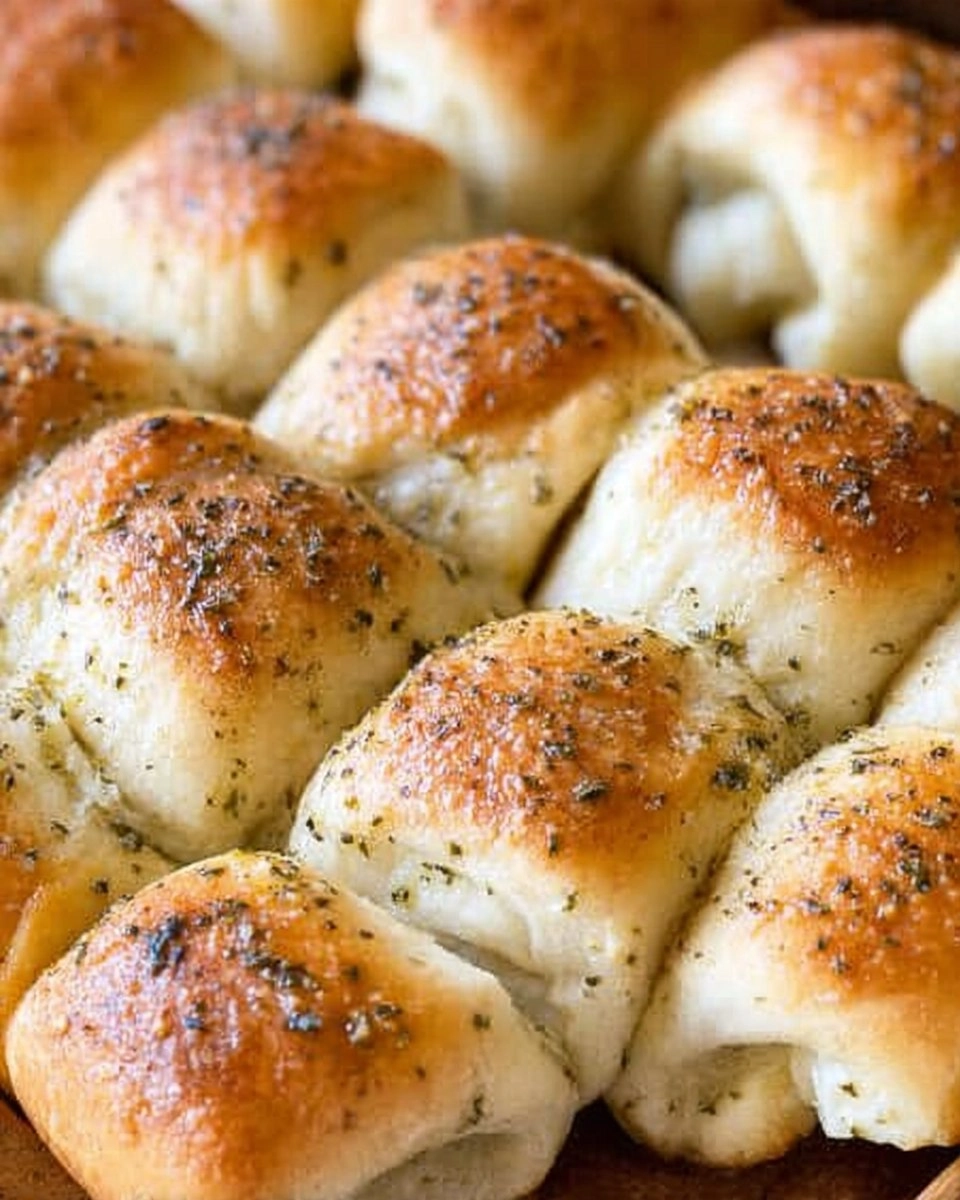
I still remember the first time I attempted to make these homemade garlic rolls. As the dough rose, the sweet smell of yeast filled my kitchen, promising something magical. When I pulled the first batch out of the oven, I couldn’t wait to share them. There’s a special joy in home-baked goodness, and these rolls provide that sensation with each pillowy bite. Why not create your own unforgettable moments with them? Get ready to indulge in the irresistible charm of homemade garlic rolls!
Why You’ll Love This Recipe
- Simple & Quick: This recipe is straightforward and can be made in under 2 hours, including rising time!
- Irresistible Flavor: With a blend of garlic and Italian seasoning, every roll bursts with flavor that pairs beautifully with countless dishes.
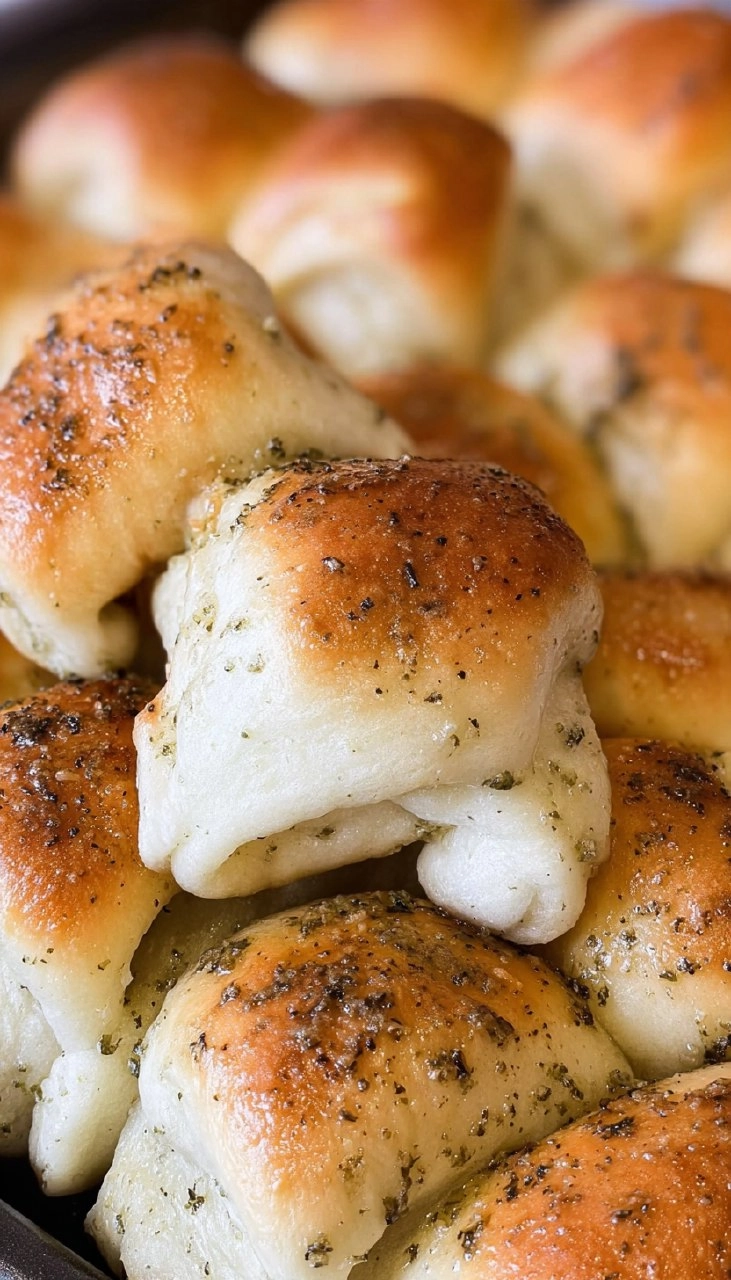
- Eye-Catching Appeal: The spiral shape and golden color add an impressive touch to your table setting.
- Flexible Serving: Perfect for snack attacks, cozy dinners, or even holiday feasts. These rolls fit every occasion!
- Diet-Friendly Options: You can easily adapt the recipe for gluten-free or dairy-free diets with suitable ingredients.
Ingredients You’ll Need
- 4 ¾ to 5 ¼ cups all-purpose flour: Essential for structure, you’ll want a good-quality flour. If necessary, you can use bread flour for an even chewier texture.
- ⅓ cup granulated sugar: This sweetener feeds the yeast, promoting a nice rise. You could substitute with honey or agave syrup if desired.
- 2 envelopes instant yeast: This is what makes the dough rise quickly. Ensure your yeast is fresh for the best results.
- 1 ½ teaspoons salt: This adds flavor and strengthens gluten in the dough.
- ¾ cup milk: Using warm milk activates the yeast and enriches the flavor. Non-dairy milk works as a substitute.
- ¾ cup water: Use warm water to help dissolve the yeast and combine with other ingredients seamlessly.
- ¼ cup unsalted butter (softened): Butter provides moisture and flavor. You can use olive oil for a dairy-free version.
- 1 large egg: Eggs add richness and help bind the dough. Make a flax egg as a vegan alternative.
- ¼ cup melted unsalted butter: This buttery topping enhances flavor and helps when rolling the dough.
- 1 teaspoon Italian seasoning: This blend of herbs adds depth and complements the garlic. Feel free to get creative with your favorite herb mix!
- ½ teaspoon garlic powder: To kick up the garlic flavor of these delectable rolls.
How to Make Homemade Garlic Rolls
- Mix the Dry Ingredients: In a large mixer bowl, whisk together 2 cups of flour, ⅓ cup granulated sugar, 2 envelopes instant yeast, and 1 ½ teaspoons salt until evenly combined.
- Combine the Wet Ingredients: In a measuring cup, heat ¾ cup of milk, ¾ cup of water, and ¼ cup of unsalted butter in the microwave until very warm (between 120° to 130°F). If you don’t have a thermometer, it should feel like hot bathwater.
- Blend: Pour the warm mixture into your flour mixture; beat with an electric mixer at medium speed for about 2 minutes, scraping the bowl occasionally.
- Add Egg and More Flour: Stir in 1 large egg and ½ cup of flour, then beat at high speed for another 2 minutes until well combined.
- Create the Dough: Gradually stir in enough remaining flour (about 2-3 cups) to make a soft dough. It should be slightly sticky to the touch.
- Knead: Turn the dough out onto a floured surface and knead it until smooth and elastic, roughly 8 to 10 minutes. Perfect dough will spring back when poked gently.
- Rest the Dough: Cover your dough and let it rest for about 10 minutes. This helps the gluten relax.
- Refrigeration Option: If you want to prepare ahead, place the dough in a greased bowl, cover with plastic wrap, and let it rise in the fridge for 12 to 24 hours.
- Shape the Rolls: Divide the dough in half, rolling each half into a 12-inch square, about ¼ inch thick. Cut each square into 6 strips, then cut each strip into 3 rectangles.
- Prepare Filling: In a small bowl, mix the melted butter with 1 teaspoon of Italian seasoning and ½ teaspoon garlic powder.
- Brush and Roll: Brush each rectangle with the melted butter mixture, fold over once, and roll into a spiral shape. Arrange in rows on greased baking sheets, ensuring the shorter seam faces down and allowing space between each row. Reserve any leftover butter mixture for brushing after baking.
- Final Rise: Cover the rolls and let them rise in a warm, draft-free area, about 30 minutes, until they double in size.
- Bake: Preheat your oven to 400°F and bake the rolls for 13 to 15 minutes or until golden brown. You’ll know they’re done when the edges are golden and they sound hollow when tapped.
- Finish: Remove from the baking sheets and let cool on a wire rack. Brush with any leftover butter mixture for added flavor.
- Enjoy: Store your rolls in an airtight container for up to 2 days—but they won’t last long!
Storing & Reheating
To keep your homemade garlic rolls fresh, store them at room temperature in an airtight container for up to 2 days. For longer storage, refrigerate them for about one week in the same type of container. To freeze, wrap rolls tightly in aluminum foil or a freezer-safe bag and store for up to 3 months. For reheating, simply pop them in the oven at 350°F for about 10 minutes, or until warmed through, restoring that lovely fresh-baked texture and flavor.
Chef’s Helpful Tips
- Kneading correctly is crucial—under-kneaded dough will be dense, while over-kneaded dough can become tough. Aim for that smooth, elastic feel.
- Use warm, but not hot, liquids to avoid killing the yeast; aim for a pleasant warmth on your wrist.
- For a unique twist, try adding cheese to the filling or experimenting with different herbs to suit your taste.
- If your dough doesn’t rise, check the freshness of your yeast and ensure the temperature is right.
- Planning ahead? Make the dough in advance and refrigerate overnight for a wonderful flavor.
Homemade garlic rolls are not just about feeding the body; they feed the soul too. The simplicity and warmth of these rolls come from the heart and transform any meal into a special occasion. As you whip up this recipe in your kitchen, I encourage you to play around with flavors and make it your own. Your family will love your fresh-baked rolls, and so will you!
Recipe FAQs
Can I make these rolls ahead of time?
Absolutely! You can prepare the dough up to 24 hours in advance and let it rise in the refrigerator. This not only saves time but also enhances the flavor!
What if I don’t have instant yeast?
You can substitute active dry yeast; just remember to activate it in warm water for about 5-10 minutes before mixing it into your dry ingredients.
Can I freeze the rolls before baking?
Yes! After shaping them, you can freeze them for up to 3 months. Just let them rise in the fridge overnight before baking.
How can I add more garlic flavor?
For an extra garlicky kick, add minced fresh garlic to the melted butter topping and brush it generously on the rolls before baking. Enjoy every buttery, garlicky bite!
PrintMore Main Dishes Recipes
Did You Enjoy Making This Recipe? Please rate this recipe with ⭐⭐⭐⭐⭐ or leave a comment.
📖 Recipe Card
Homemade Garlic Rolls
- Prep Time: 30 minutes
- Cook Time: 15 minutes
- Total Time: 45 minutes
- Yield: 36 rolls 1x
- Category: Breads
- Method: Baking
- Cuisine: Italian
Description
Homemade Garlic Rolls offer irresistible flavor with simple prep, featuring all-purpose flour, butter, and garlic. Perfect for a quick dinner or comforting meal!
Ingredients
- 4 ¾ to 5 ¼ cups (589-651g) all-purpose flour
- ⅓ cup (67g) granulated sugar
- 2 envelopes instant yeast
- 1 ½ teaspoons salt
- ¾ cup (177ml) milk
- ¾ cup (177ml) water
- ¼ cup (57g) unsalted butter
- 1 large egg
- ¼ cup (57g) unsalted butter, melted
- 1 teaspoon Italian Seasoning
- ½ teaspoon garlic powder
Instructions
- Combine 2 cups flour, sugar, yeast, and salt in a large mixer bowl, whisking to blend.
- Heat milk, water, and ¼ cup butter in a microwave until warm (120° to 130°F).
- Mix wet ingredients into flour mixture and beat for 2 minutes at medium speed, scraping bowl as necessary. Add egg and ½ cup flour and then beat for 2 minutes at high speed.
- Stir in enough remaining flour to create a soft, slightly sticky dough.
- Transfer dough to a floured surface and knead until smooth and elastic, about 8 to 10 minutes.
- Cover the dough and let it rest for 10 minutes.
- If preparing ahead, place dough in a greased bowl, cover, and refrigerate for 12 to 24 hours.
- Divide the dough in half and roll each piece into a 12-inch square, about ¼-inch thick.
- Cut each square into 6 strips and then further into 3 rectangles.
- Mix filling ingredients in a small bowl.
- Brush each rectangle with melted butter, fold, and roll into a spiral. Place rolls in rows on greased baking sheets, seam side down, with space between them.
- Cover and allow to rise in a warm place until doubled in size, about 30 minutes.
- Preheat the oven to 400°F.
- Bake for 13 to 15 minutes or until golden brown. Cool on wire racks and brush with remaining butter.
Notes
For a richer flavor, use fresh garlic in the filling instead of garlic powder.
Store leftover rolls in an airtight container for up to 2 days to maintain their freshness.
These rolls pair wonderfully with pasta dishes or as a side for soups.
Nutrition
- Serving Size: 1 roll
- Calories: 150
- Sugar: 1g
- Sodium: 150mg
- Fat: 6g
- Saturated Fat: 3g
- Unsaturated Fat: 2g
- Trans Fat: 0g
- Carbohydrates: 21g
- Fiber: 1g
- Protein: 3g
- Cholesterol: 25mg