Easy Homemade Cherry Pie

Easy Homemade Cherry Pie
Table of Contents
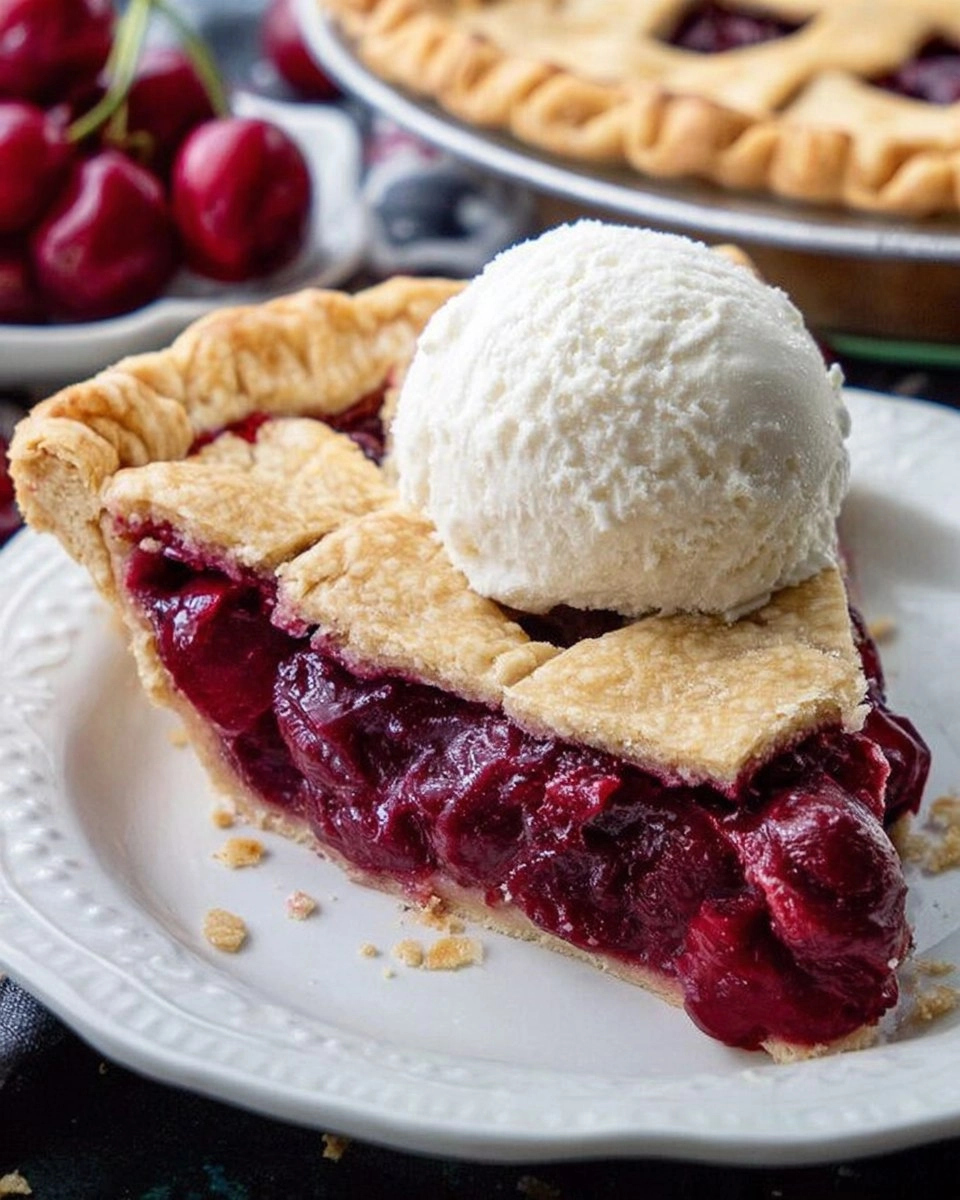
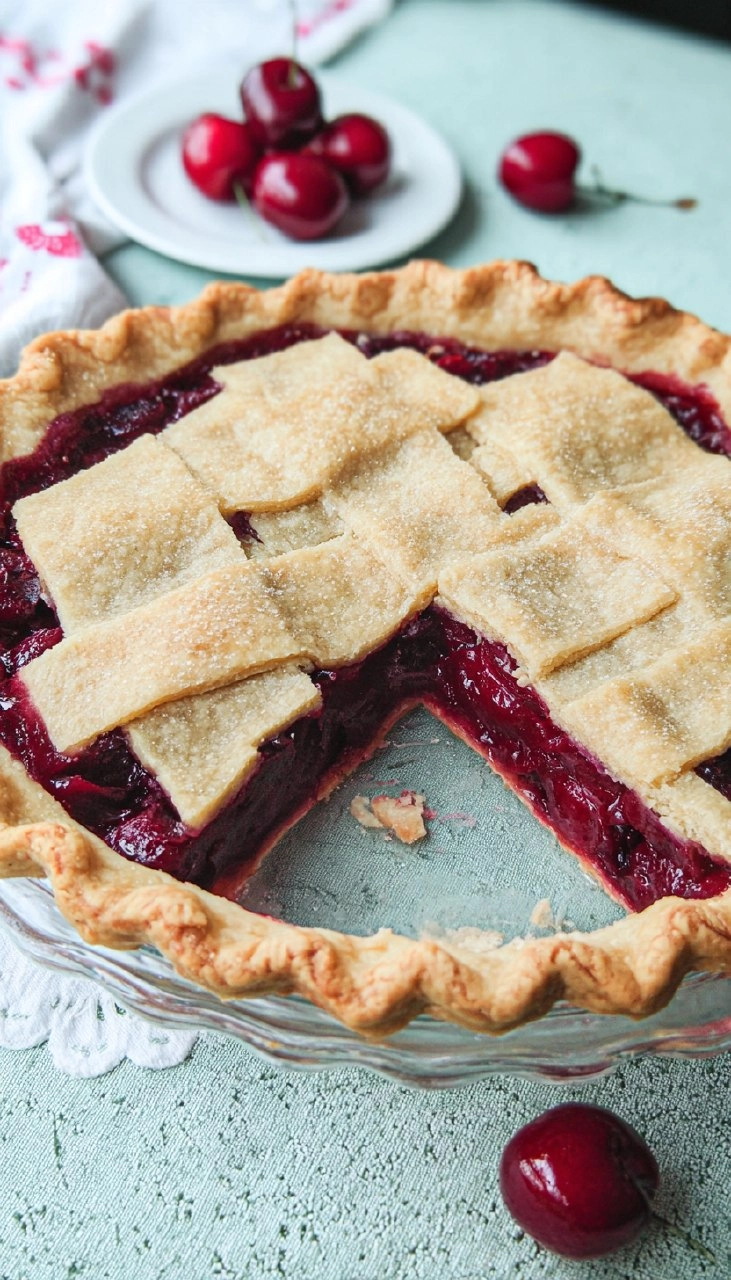
There’s something incredibly heartwarming about the smell of a fresh cherry pie bubbling away in the oven. The sweet-tart aroma wafts through the air, evoking memories of summer picnics and family gatherings. This easy homemade cherry pie is not just a dessert; it’s a slice of nostalgia. With a flaky, buttery crust cradling juicy cherries, it’s the perfect way to turn ordinary moments into something truly special.
I still remember the first time I attempted to make cherry pie. I gathered fresh cherries for the first time from a local farmer’s market, eager to create something delightful. As I rolled out the dough and filled my pie pan, I felt a wave of excitement. This recipe is straightforward and budget-friendly, allowing anyone to bake a pie that rivals those at your favorite bakery. I can’t wait for you to experience the joy of creating this delicious treat!
Why You’ll Love This Recipe
- Simple & Quick: With just 15 minutes of prep and a little baking time, you can have a homemade pie ready for sharing.
- Irresistible Flavor: The combination of sweet cherries and a touch of lemon juice creates a flavor explosion that’s hard to resist.
- Eye-Catching Appeal: A beautifully baked cherry pie will surely impress your guests, making it perfect for gatherings or a cozy family dessert.
- Flexible Serving: Whether it’s served warm with ice cream or as a refreshing snack at brunch, this pie fits every occasion.
- Diet-Friendly Options: Adjust the sugar levels for a healthier version if needed, and use gluten-free flour for a gluten-free treat.
Ingredients You’ll Need
- 2 cups flour: This is the backbone of your pie crust. You can use all-purpose flour or a gluten-free blend if needed.
- 1 cup butter-flavored Crisco: For a flaky crust that holds its shape, butter-flavored Crisco is recommended. If preferred, unsalted butter can be substituted in equal measurements.
- 1 tsp salt: Enhances flavor and balance in the crust.
- 3-4 tbsp cold water: Helps bring the dough together; using cold water is essential for a tender crust.
- 4 cups fresh cherries, pitted: Fresh cherries give the best flavor. You can also use frozen cherries, just be sure to thaw them first.
- 1 cup sugar: Sweetens the filling; adjust to your taste if the cherries are particularly sweet or tart.
- 4 tbsp cornstarch: This thickens the filling, preventing it from becoming too runny.
- 1 tsp lemon juice: Brightens the flavor of the cherries without overwhelming them.
- 1 tbsp butter: Adds richness; dotting it on top of the cherry filling enhances the taste.
- 3 tbsp water: Used to help cook down the cherry filling, creating a delicious syrup.
How to Make Easy Homemade Cherry Pie
Preheat the Oven: Start by heating your oven to 400°F. A hot oven ensures that the crust bakes beautifully and evenly.
Make the Pie Crust: In a mixing bowl, combine 2 cups flour, 1 cup butter-flavored Crisco, and 1 tsp salt. Use a pastry cutter or your hands to mix until crumbly. Slowly stir in 3-4 tbsp cold water until the dough comes together.
Roll Out the Dough: Divide the dough in half. On a well-floured surface, roll out the first half into a large circle about 1/8 inch thick. Place it in a pie pan, gently pressing it to fit.
Prepare the Second Crust: On a well-floured surface, roll out the second half of the dough into a circle for the top crust. Set it aside for later.
Make the Cherry Filling: In a medium saucepan, combine 4 cups pitted fresh cherries, 1 cup sugar, 4 tbsp cornstarch, 1 tsp lemon juice, 1 tbsp butter, and 3 tbsp water. Cook over medium heat, stirring frequently, until the mixture thickens and begins to bubble, about 10 minutes.
Fill the Pie: Pour the cherry filling into the prepared pie crust in the pie pan, spreading it evenly.
Top the Pie: Take the second crust and place it over the cherry filling. Pinch the edges of the crusts together and trim any excess dough. It’s your choice to create a decorative edge if you’re feeling creative!
Cut Vent Slits: Cut a few slits in the top crust to allow steam to escape. This will help prevent any overflow while baking.
Bake: Bake the pie in your preheated oven at 400°F for 15 minutes. After that, reduce the temperature to 375°F and continue baking for an additional 30-45 minutes. The pie is done when the crust is golden brown, and the filling is bubbly.
Cool and Serve: Let the pie cool for at least 30 minutes before slicing. This allows the filling to set, making it easier to cut neat slices.
Storing & Reheating
Store your cherry pie at room temperature, covered loosely with foil or a clean kitchen towel for up to 2 days. If you want to preserve it longer, refrigerate for up to 5 days in an airtight container. You can even freeze it for up to 3 months by wrapping it tightly in plastic wrap and aluminum foil. When ready to enjoy, you can reheat slices in the oven at 350°F for about 10-15 minutes. Keep in mind that the texture might vary slightly, but a scoop of ice cream or a dollop of whipped cream will refresh its charm.
Chef’s Helpful Tips
- Always chill your pie dough before rolling it out; it helps in maintaining a flaky crust.
- If using frozen cherries, you may want to add a touch more cornstarch to help thicken the excess juice released during cooking.
- For a golden crust, brush the top with an egg wash (1 beaten egg mixed with a tablespoon of water) before baking.
- If your filling starts to bubble over, place a baking sheet under the pie in the oven to catch any drips and prevent a mess.
- Feel free to experiment with flavors by adding a pinch of cinnamon or almond extract to the cherry filling for a unique twist.
- This pie can be made ahead of time and served at room temperature, making it an excellent choice for gatherings.
There’s nothing quite like sitting down with a warm slice of homemade pie, especially this easy homemade cherry pie, which reminds us of cherished moments shared over delicious food. Now, armed with this recipe, I hope you feel inspired to create your own! There’s magic in baking, just waiting for you to dive in.
Recipe FAQs
Can I use frozen cherries for this recipe?
Yes! Frozen cherries can be a great alternative when fresh ones are out of season. Just be sure to thaw them beforehand and drain excess liquid to avoid a soggy pie.
How do I prevent the crust from getting soggy?
To prevent a soggy crust, ensure your pie pan is well chilled, and consider pre-baking the bottom crust for about 10 minutes before adding the filling. This will help set a barrier.
How can I enhance the flavor of the cherry filling?
You can elevate the flavor by adding a pinch of cinnamon or almond extract. A splash of vanilla extract also pairs beautifully with the cherries.
Can I make this pie ahead of time?
Absolutely! You can prepare and assemble the pie a day in advance. Just cover it and keep it in the refrigerator. Bake it fresh before serving for the best experience.
More Desserts & Appetizers Recipes
- Halloween Bandaid Cookies
- Homemade Cherry Crisp
- Banana Split Fluff Salad
- Easy Jam Thumbprint Cookies with a Heart-Shaped Twist
- Dole Whip Recipe three ways
Did You Enjoy Making This Recipe? Please rate this recipe with ⭐⭐⭐⭐⭐ or leave a comment.
📖 Recipe Card

Easy Homemade Cherry Pie
- Prep Time: 30 minutes
- Cook Time: 45-60 minutes
- Total Time: 0 hours
- Yield: 8 servings 1x
- Category: Desserts
- Method: Baking
- Cuisine: American
Description
This Easy Homemade Cherry Pie boasts irresistible flavor with a buttery crust and sweet, juicy cherries. Perfect for family gatherings or a cozy night in, this pie is a true crowd-pleaser that’s easy to make and hard to resist.
Ingredients
- 2 cups Flour
- 1 cup Butter Flavored Crisco
- 1 tsp Salt
- 3–4 tbsp Cold Water
- 4 cups Fresh Cherries, Pitted
- 1 cup Sugar
- 4 tbsp Cornstarch
- 1 tsp Lemon Juice
- 1 tbsp Butter
- 3 tbsp Water
Instructions
- Preheat the oven to 400 degrees Fahrenheit.
- In a bowl, mix flour, Crisco, and salt. Gradually add cold water, stirring until combined.
- Divide the dough in half. Roll out the first half on a floured surface and place it in a pie pan, pressing it gently into shape.
- Roll out the second half of the dough on a floured surface and set aside.
- In a saucepan, combine pitted cherries with sugar, cornstarch, lemon juice, butter, and water. Cook over medium heat, stirring frequently until the mixture thickens.
- Transfer the cherry filling into the prepared pie crust in the pan.
- Cover the filling with the second rolled-out dough, pinching the edges together, and trimming off any excess.
- Create slits in the top dough for steam to escape.
- Bake in the preheated oven for 15 minutes, then reduce the temperature to 375 degrees Fahrenheit and continue baking for an additional 30 to 45 minutes until the crust is golden brown.
Notes
For a sweeter pie, adjust the sugar according to taste.
Serve with whipped cream or vanilla ice cream for an extra treat.
Ensure cherries are properly pitted for the best texture.
Nutrition
- Serving Size: 1 slice
- Calories: 350
- Sugar: 20g
- Sodium: 200mg
- Fat: 18g
- Saturated Fat: 8g
- Unsaturated Fat: 9g
- Trans Fat: 0g
- Carbohydrates: 48g
- Fiber: 2g
- Protein: 3g
- Cholesterol: 30mg